***special thanks to Shelley for the original template inspiration!!***
1. Begin by opening the 12x12 template in PSE.
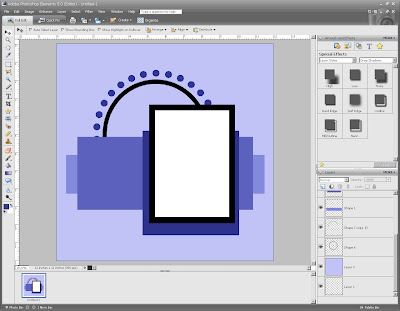
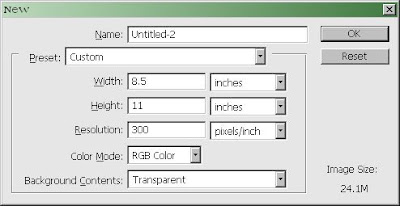
2. Next, open a new blank file by File/New/Blank or Ctl+N (shortcut). Create the new document to match this:
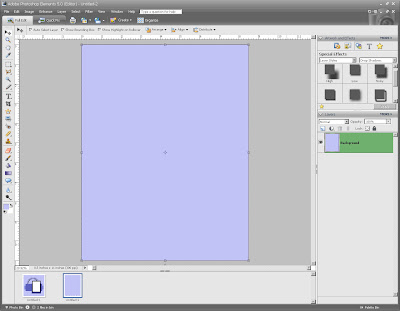
3. On the new 8.5x11 document, fill the background layer with a color. I usually pick up the color from the original template by using the dropper tool.
4. Now, back the layers palate on the original 12x12 template, select ALL the layers except the bottom/background layer. I do this by selecting the layer above the background, holding shift & clicking the very top layer.
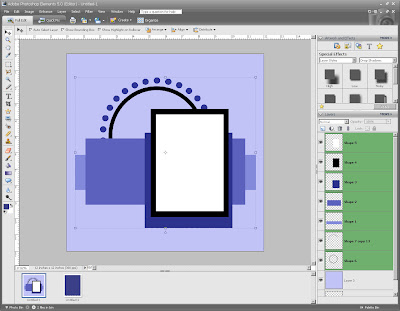
5. Notice above how there is a “box” around all the element layers, indicating you have them all selected – click on any of the selected layers (for this example, the white one would be a good choice), and then DRAG the entire cluster of layers down to the 8.5x11 document you created. Before releasing the click button, make sure your mouse is hovered over the new document. You should see a + sign in a white box next to your mouse cursor. (my screenshot didn’t capture the cursor, but this is what the 12x12 template will look just before you drop it onto the 8.5x11)

6. Once the layers cluster is dropped onto the new doc, it should look like this.

7. Now, the new template looks a little crowded and not quite right – so I take the layer cluster and resize the entire thing by dragging any one of the four corners toward the center to shrink it down some.

8. But it still looks a little off and the picture size is too small for my taste – so I just play around a little with each layer separately, moving them around a little, resizing, etc until I get the template how I want it to look.

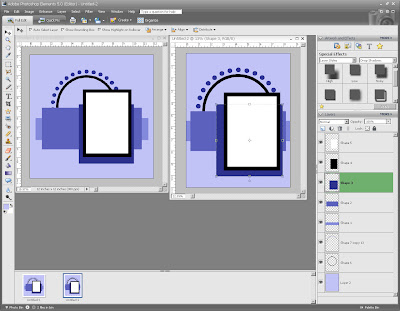
And here is a pic of the templates side by side. The new template has a similar look as the original, but its layers are sized better an 8.5x11 canvas.

1 comment:
Thank you. This was so simple and just what I needed!
Post a Comment